Just another free Blogger theme

Powered by Blogger.

Friday, January 31, 2025

Turning a Regular Table into a Woodworking Bench: A DIY Adventure

So, you've got an old table lying around, maybe a bit beat up, maybe just plain boring. Instead of letting it gather dust in the garage, why not transform it into a sturdy, personalized woodworking bench? It's a surprisingly doable project, even for beginner woodworkers, and you'll save a bundle compared to buying a new bench. Let's dive in!

Assessing Your Table: Is It Bench-Worthy?

Before you get carried away with visions of sawdust and perfectly planed wood, let's take a realistic look at your table. Not every table is cut out for bench duty. Ideally, you want a sturdy, solid table, preferably made of hardwood. A wobbly card table is a definite no-go. Here's what to look for:

Sturdiness is Key

Give the table a good shake. Does it wobble? If so, you'll need to reinforce it significantly before turning it into a workbench. A sturdy frame is essential for supporting the weight of your tools and materials. Look for a table with thick legs and a robust frame. A particleboard table is likely too weak, even with reinforcements.

Material Matters

Hardwoods like oak, maple, or even a sturdy pine are ideal. Softwoods will dent and scratch more easily. If your table is made of a softer wood, you might consider adding a hardwood top later on. Avoid tables made from flimsy materials like pressboard or particleboard – these simply won't hold up under the stress of woodworking.

Size and Height Considerations

Think about how you'll use the bench. A taller table might be perfect for standing while working, while a shorter one might be better for seated work. Consider the size of your projects; do you need a large surface area or will a smaller bench suffice? A longer table is generally better, giving you more space to work.

The Transformation Process: From Table to Treasure

Once you've assessed your table and declared it bench-worthy, let's get down to the nitty-gritty. This isn't rocket science, but it does require some basic woodworking skills and tools.

Step 1: Dismantling (If Necessary)

If your table is already a solid, stable unit, you might be able to skip this step. However, if it's a more complex design, or if you want to reinforce parts of it, taking it apart can be helpful. Carefully unscrew or remove any parts that can be separated without damaging the structure. Remember to keep track of all the screws and hardware for reassembly.

Step 2: Reinforcement and Stabilization

This is where you address any weakness in your table's structure. If it wobbles, you might need to add bracing underneath. Consider using 2x4s or thicker lumber to reinforce the legs and frame. You can attach these using strong wood screws or even wood glue for extra stability. Make sure your screws are long enough to penetrate deeply into both pieces of wood for maximum strength.

Step 3: Creating a Solid Work Surface

The existing tabletop might suffice, particularly if it's already a thick hardwood. However, you may want to consider upgrading to a thicker, more durable surface. You can add a new top layer using plywood, a solid hardwood slab, or even reclaimed wood. This is a great opportunity to customize your bench with a unique look. If you opt for a new top, ensure it's securely attached using screws and wood glue.

Step 4: Adding Clamping Capacity

One of the most important features of a woodworking bench is its ability to hold workpieces securely in place. You can add dog holes (round holes for clamping dogs) to your benchtop using a Forstner bit. You can also attach bench dogs, which are small, wooden or metal pegs used for clamping. Alternatively, you could add a simple front vise or even a quick-release clamp system for added functionality.

Step 5: Finishing Touches

Once the structural work is complete, it's time for the finishing touches. Sand the entire bench smooth to remove any rough edges or splinters. Apply a protective finish such as varnish, polyurethane, or even paint. This will protect your bench from moisture and damage, and it will also give it a more professional look.

Choosing Your Tools and Materials

The tools you'll need depend on the state of your table and the modifications you plan to make. Here's a list of essentials:

  • Screwdriver (Phillips and flathead)
  • Drill with various drill bits
  • Measuring tape and pencil
  • Wood saw (hand saw or circular saw)
  • Sandpaper (various grits)
  • Wood glue
  • Clamps
  • Safety glasses and ear protection
  • Wood for reinforcement (if needed)
  • Wood for a new top (if needed)
  • Finishing materials (varnish, paint, etc.)

Beyond the Basics: Adding Extra Features

Once you've got the fundamentals down, you can start thinking about adding extra features to truly personalize your workbench. This is where your creativity can shine! Think about adding:

  • Drawer(s): Add storage for small tools and hardware.
  • Shelves: Provide extra storage space for larger items.
  • A built-in vise: Provides strong clamping power.
  • A pegboard backsplash: Hang tools for easy access.
  • A dedicated power strip: Keep your power tools plugged in and ready to go.

Frequently Asked Questions

Q: Can I use any type of table?

A: Ideally, you want a sturdy table made of hardwood. A wobbly or flimsy table will likely require significant reinforcement, and might not be worth the effort.

Q: What kind of wood is best for a new tabletop?

A: Hardwood like oak, maple, or beech is ideal for its durability. Plywood is a more budget-friendly alternative.

Q: How do I attach a new tabletop?

A: Use wood glue and screws for a strong and secure connection. Pre-drill pilot holes to prevent the wood from splitting.

Q: How much will this project cost?

A: The cost will depend on the materials you use. If you're primarily using materials you already have, it can be very inexpensive. Adding a new tabletop and other features will increase the cost.

Q: What if I'm not a skilled woodworker?

A: Don't worry! This project is achievable even for beginners. Take your time, follow safety precautions, and don't be afraid to ask for help from more experienced woodworkers.

Turning an old table into a woodworking bench is a rewarding project that combines practicality with creativity. So, grab your tools, unleash your inner craftsman, and get ready to transform that old table into a trusty workbench that will serve you for years to come!

DIY vs. Store-Bought Coffee Tables: The Great Living Room Showdown!

So, you're looking for a new coffee table. That's awesome! But the question is: DIY or store-bought? It's a tough one, right? Both options have their charms (and their headaches!), so let's dive into the pros and cons to help you decide which path suits your personality, budget, and skillset.

DIY Coffee Tables: The Crafting Adventure

Let's face it, building your own coffee table is a bit like embarking on a mini-construction project. It's rewarding, challenging, and definitely not for everyone. But if you're a crafty soul with some free time (and maybe a few power tools lurking in the garage), a DIY coffee table could be incredibly fulfilling.

Pros of DIY Coffee Tables:

Uniqueness is King: This is the biggest draw. You'll end up with a coffee table that's completely unique, a reflection of your personal style and creativity. Forget about mass-produced furniture; this is a one-of-a-kind piece that nobody else will have.

Customization Galore: Want a specific size? A wacky shape? A secret compartment for your stash of emergency chocolate? With a DIY project, the possibilities are endless. You're not limited to what the store offers; you're the designer, the architect, the builder!

Potential Cost Savings: Depending on the materials you choose, you could save a significant amount of money compared to buying a similar piece in a store. Of course, factor in the cost of tools and materials, but if you already have some of the essentials, you can potentially come out ahead.

Immense Satisfaction: There's nothing quite like the satisfaction of creating something with your own two hands. The pride you'll feel when you finally sit back and admire your handiwork is priceless. It's a true testament to your skills and determination.

Cons of DIY Coffee Tables:

Time Commitment: Building a coffee table isn't a weekend project for most people. It takes time – planning, sourcing materials, building, finishing, and potentially fixing mistakes. Be realistic about how much time you have available.

Skill and Tool Requirements: Unless you're already handy, you might need to invest in some tools (and potentially learn how to use them!). Some projects require more advanced skills than others. If you're a total novice, start with a simple design.

Potential for Errors: Let's be honest, mistakes happen. You might mismeasure, cut something incorrectly, or encounter unforeseen challenges. This can be frustrating and might lead to added costs or even abandoning the project.

Material Sourcing Can Be a Hassle: Finding the right wood, hardware, or other materials can take time and effort. You might need to visit multiple stores or wait for online orders to arrive.

Store-Bought Coffee Tables: The Instant Gratification Option

For those who prefer immediate gratification and a less hands-on approach, buying a store-bought coffee table is the way to go. It's convenient, offers a wide variety of styles, and typically comes with a warranty.

Pros of Store-Bought Coffee Tables:

Instant Gratification: You can literally walk into a store or click "buy now" online and have a new coffee table within days (or even hours, depending on delivery options). No weeks spent measuring, sawing, and sanding.

Wide Selection: Stores offer a massive variety of styles, materials, and sizes, ensuring you'll find something to match your décor. From modern minimalism to rustic farmhouse charm, the options are virtually limitless.

Warranty and Returns: Most store-bought furniture comes with a warranty, offering peace of mind in case of defects or damage. Plus, if you're unhappy with your purchase, you can usually return it (with some caveats, of course).

Ease and Convenience: No need to worry about tools, materials, or potential mistakes. You simply buy, assemble (if necessary), and enjoy your new coffee table.

Cons of Store-Bought Coffee Tables:

Cost: Store-bought coffee tables can be expensive, particularly if you're after higher-quality materials or unique designs. You might find yourself paying a premium for convenience and brand name.

Limited Customization: You're limited to the options available in the store or online. If you have a very specific vision in mind, you might struggle to find the perfect match.

Lack of Uniqueness: Chances are, someone else will have the same coffee table. While this isn't a problem for everyone, some people prioritize having a unique piece of furniture.

Potential for Lower Quality: Not all store-bought furniture is created equal. Some pieces might be made with cheaper materials and less attention to detail.

The Verdict? It Depends!

Ultimately, the best option – DIY or store-bought – depends entirely on your individual circumstances and preferences. Consider your budget, your available time, your skill level, and how important uniqueness and customization are to you. There's no right or wrong answer; it's all about finding the perfect coffee table for *your* living room!

Commonly Asked Questions

Q: What are some easy DIY coffee table projects for beginners?

A: Pallet coffee tables are a great starting point. They're relatively simple to assemble and require minimal tools. You can also try repurposing an old trunk or crate into a unique coffee table.

Q: Where can I find plans for DIY coffee tables?

A: Pinterest, YouTube, and various woodworking websites are excellent resources for DIY plans. Search for "DIY coffee table plans" and you'll find tons of options for different skill levels and styles.

Q: How much should I budget for a DIY coffee table?

A: This depends entirely on the materials you choose. A simple pallet coffee table might cost under $50, while a more elaborate project using reclaimed wood could cost several hundred dollars.

Q: What if I make a mistake during my DIY project?

A: Don't panic! Mistakes happen. Try to fix them if possible, or adapt your design to work around them. Sometimes, a "mistake" can even add character to your finished piece. And remember, you can always start over!

Q: What's the best way to finish a DIY coffee table?

A: This depends on the material. Wood can be stained, painted, or sealed with a varnish or polyurethane. Always follow the manufacturer's instructions for any finishes you use.

Thursday, January 30, 2025

Upcycling Wooden Pallets: Your Guide to Building Awesome Furniture

Hey there, fellow DIY enthusiasts! Ever looked at a discarded wooden pallet and seen a potential coffee table, a stylish bookshelf, or even a quirky headboard just waiting to be unleashed? You're not alone! Wooden pallets are a fantastic, affordable, and eco-friendly resource for building all sorts of furniture. This guide will walk you through the process, from sourcing pallets to finishing the final product, so you can unleash your inner craftsman (or craftswoman!).

1. Sourcing Your Pallets: The Hunt Begins!

Before you even think about hammers and nails, you need to find your raw materials. This is the fun part (and maybe a little bit of a scavenger hunt!). Here's where you can look:

Where to Find Pallets:

  • Local Businesses: Think grocery stores, breweries, construction sites, and even your local hardware store. Many businesses are happy to give away pallets they no longer need. Just be sure to ask politely and explain your project!
  • Online Classifieds: Websites like Craigslist or Facebook Marketplace often have people giving away pallets for free or selling them for a very low price.
  • Recycling Centers: Check with your local recycling center; they might have a pile of pallets available for reuse.

Important Note: Not all pallets are created equal! Avoid pallets that have been treated with chemicals (like methyl bromide â€" look for an IPPC stamp with "HT" for heat treatment) or show signs of significant damage or rot. You want pallets that are sturdy and relatively clean.

2. Preparing the Pallets: Safety First!

Once you've got your pallets, it's time for some prep work. This step is crucial for safety and the final look of your furniture.

Cleaning and Disassembly:

First, give your pallets a thorough cleaning. Use a stiff brush, a hose, and maybe some soap and water to remove dirt, debris, and any lingering pests. Let them dry completely before you start disassembling them. Carefully remove any nails or staples that you don't plan to reuse. Wear safety glasses and gloves during this step to protect yourself from splinters and injuries!

Sanding:

This is where the magic happens (or at least, where the smoothness happens!). Sanding down the wood will make your furniture much more comfortable and safer to handle. Start with a coarser grit sandpaper to remove any rough patches and then move to a finer grit for a smoother finish. Pay extra attention to the edges and corners. Consider using a power sander to speed up the process, but be careful not to over-sand.

3. Designing Your Furniture: Let's Get Creative!

Now comes the fun part: dreaming up your masterpiece! What kind of furniture are you going to create? The possibilities are endless! Here are a few ideas to get your creative juices flowing:

Project Ideas:

  • Coffee Table: A simple and classic project, easily achievable with just a few pallets.
  • Headboard: Add a rustic charm to your bedroom with a pallet headboard. You can even paint or stain it to match your décor.
  • Bookshelf: Create a unique and stylish bookshelf by stacking and arranging the pallets in a creative way.
  • Outdoor Seating: Build a sturdy bench or even a small outdoor sofa for your patio or garden. Just make sure to seal the wood properly to protect it from the elements.
  • Vertical Garden: Turn your pallets into a vertical herb garden or planter for your balcony or backyard.

Sketch out your design, considering the dimensions of your pallets and the desired size of your furniture. You can find tons of inspiration online â€" Pinterest and Instagram are great resources!

4. Construction: Building Your Masterpiece

With your design finalized, it's time to assemble your furniture. This will depend on your specific design but generally involves:

Tools and Materials:

  • Wood glue: Provides strong bonds between the pallet pieces.
  • Screws: Offer extra support and durability, especially for larger pieces.
  • Drill (with appropriate drill bits): Essential for driving screws efficiently.
  • Measuring tape and pencil: For precise measurements and marking.
  • Safety glasses and work gloves: Always prioritize your safety!

Carefully follow your design plan, attaching pieces securely with wood glue and screws. Take your time and ensure everything is aligned properly. Clamps can be extremely helpful for holding pieces together while the glue dries.

5. Finishing Touches: Making it Shine

Your furniture is almost ready to show off! The finishing touches are what will transform your creation from a functional piece to a beautiful, show-stopping addition to your home.

Finishing Options:

  • Painting: A coat of paint can completely change the look of your pallet furniture. Choose a color that complements your existing décor.
  • Staining: Staining allows the natural wood grain to show through while adding color and protection.
  • Sealing: Apply a sealant to protect your furniture from moisture, scratches, and wear and tear. This is especially important for outdoor furniture.
  • Adding Hardware: Consider adding knobs, handles, or other hardware to add a touch of elegance or functionality.

Let your creativity shine! You can add decorative elements, cushions, or even upcycle other materials to personalize your furniture even further.

Frequently Asked Questions

Q: Are all pallets safe to use for furniture?

A: No. Avoid pallets marked with MB (methyl bromide) as this is a harmful chemical. Look for the IPPC stamp with "HT" indicating heat treatment, meaning it's safe for reuse.

Q: How do I prevent splinters?

A: Thorough sanding is key! Use different grit sandpapers, starting with coarser grits and finishing with finer ones for a smooth surface.

Q: What kind of wood glue and screws should I use?

A: A strong wood glue designed for outdoor use (if applicable) is recommended. Use exterior-grade screws for added durability, especially if your furniture will be exposed to the elements.

Q: How long does it take to build a pallet furniture piece?

A: This varies greatly depending on the project's complexity. Simple projects might take a few hours, while more intricate pieces could take a day or more.

Q: Can I use pallets for indoor furniture?

A: Yes, as long as they are properly cleaned, sanded, and treated (e.g., sealed or painted). This prevents dust, pests, and potential chemical exposure.

There you have it! With a little creativity, elbow grease, and this guide, you can transform discarded pallets into unique and beautiful furniture pieces. Happy building!

Tuesday, November 3, 2020

must have John lewis wooden bird could came across right So you are looking for John lewis wooden bird is extremely well-liked and also we all feel a few several weeks in the future This is often a minor excerpt a critical matter related to John lewis wooden bird we hope you no doubt know the reason and additionally guidelines a lot of imagery right from many different assets

Pictures John lewis wooden bird


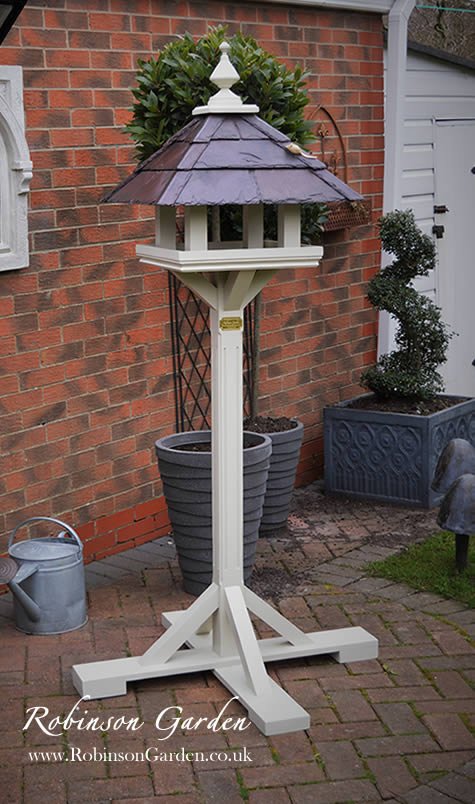
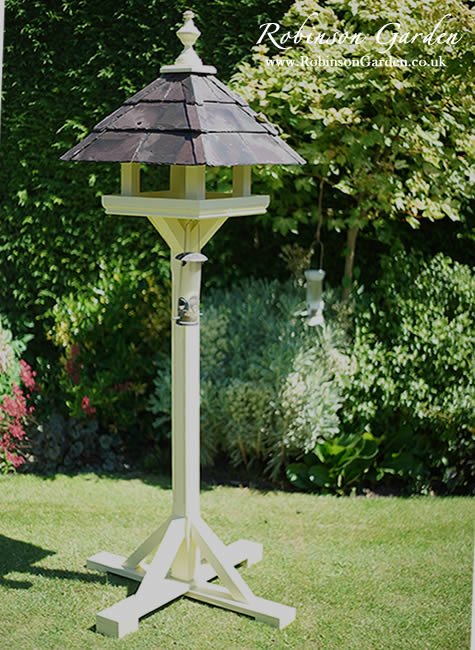
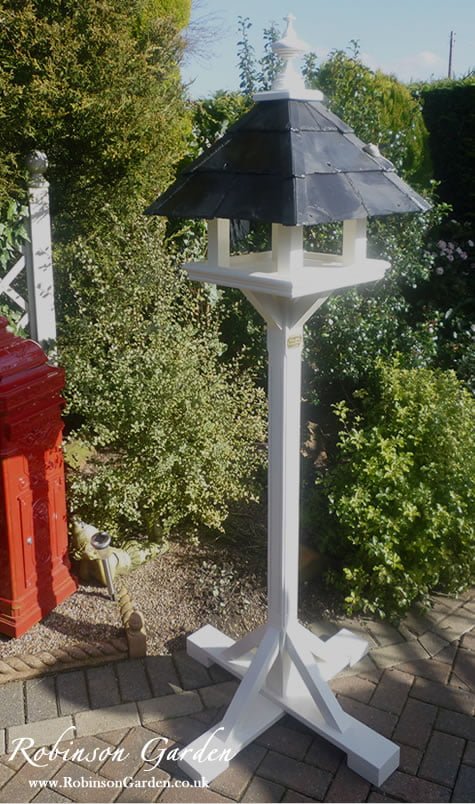
Robinson Garden Bespoke Bird Table and Bird Houses

Robinson Garden Bespoke Bird Table and Bird Houses

Robinson Garden Bespoke Bird Table and Bird Houses

Robinson Garden Bespoke Bird Table and Bird Houses

Robinson Garden Bespoke Bird Table and Bird Houses

Robinson Garden Bespoke Bird Table and Bird Houses


Robinson Garden Bespoke Bird Table and Bird Houses

Monday, November 2, 2020

resolves Timber garden bench melbourne may observed below The blog write about intended for Timber garden bench melbourne is quite well-known in addition to most of us imagine quite a few many months to return This is often a minor excerpt significant area connected with Timber garden bench melbourne can be you comprehend spinning program so well Outdoor benches | temple & webster, Make the most of your outdoor space with outdoor benches from temple & webster. our functional garden benches and outdoor chairs come in a range of materials, including wood, teak and wrought iron. choose a traditional timber bench seat for your patio, or choose an intricately wrought iron garden bench.. Solid outdoor timber tables & outdoor garden furniture, 7 lloyd street heidelberg heights melbourne vic 3081. (03) 9023 3977 . home; all products solid and durable outdoor timber furniture and garden furniture including rustic table and bench seats that can be used in public open spaces and backyards. the most popular piece of garden furniture that we create is our memorial wooden bench seat. Teak bench seats | melbourne | vintage gardens, Wooden teak bench seats wooden benches made from teak are the perfect garden companion nothing speaks timeless classic like a teak b ench seats, nestled in a garden setting or taking centre stage on a shady verandah. left untreated they will take on a soft silvery grey hue..
Outdoor & garden benches available from bunnings warehouse, Check out our range of outdoor & garden benches products at your local bunnings warehouse. visit us today for the widest range of outdoor furniture products. our metropolitan melbourne stores are now open for all customers. customers can shop with us in-store or online with our click & deliver or drive & collect services. we continue to.
Outdoor furniture & accessories in victoria | the teak place, The teak place est 1995 is australia's largest teak furniture warehouse. browse our huge range of quality outdoor teak furniture & accessories. commercial suppliers our rosebud warehouse is open direct to the public. australia wide shipping available..
Wood - outdoor benches - patio chairs - the home depot, Go with a modern garden bench in oriental blue for a striking focal point on your patio. or, paint your own unfinished wooden bench in a shade of your choice. just be sure to seal the wood to protect it from moisture. all wooden outdoor benches are pre-treated to be weatherproof for outside use. solid wood benches can withstand rain, sun and wind..
and even here are some various graphics as a result of distinct origins

Representation Timber garden bench melbourne


Solid timber sleeper benches for outdoors

Solid timber sleeper benches for outdoors

Custom Recycled Timber Joinery | Green Magazine

Custom Recycled Timber Joinery | Green Magazine

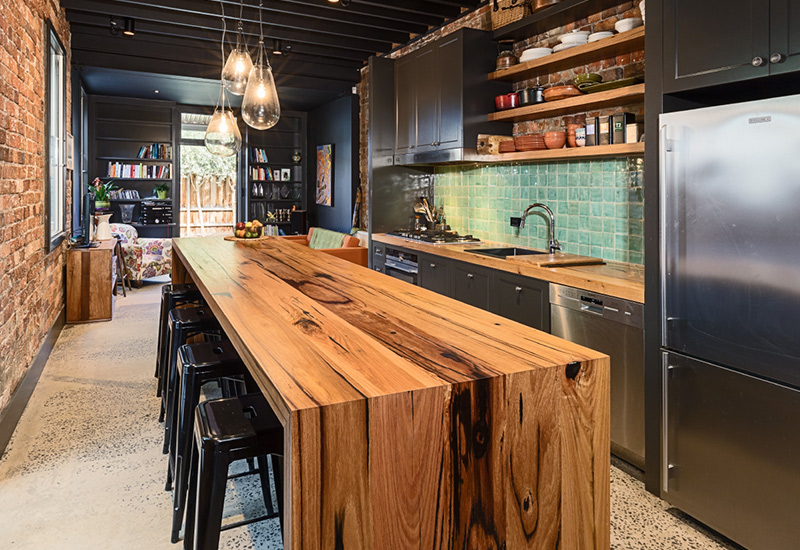
Industrial Vintage Timber Rustic Work Bench Cafe Kitchen

Industrial Vintage Timber Rustic Work Bench Cafe Kitchen

Timber Decking - Melbourne Landscaping

Timber Decking - Melbourne Landscaping

Sunday, November 1, 2020

several Jorgensen bench vise parts can noticed these And so you choose Jorgensen bench vise parts is rather preferred as well as all of us think various several months coming Here is mostly a smaller excerpt key issue connected with Jorgensen bench vise parts hopefully you realize the reason and additionally guidelines a lot of imagery various sources

Visuals Jorgensen bench vise parts


Colored Wood Stains Interior, Heat Transfer Paper Wood

Colored Wood Stains Interior, Heat Transfer Paper Wood

Antique W.C. TOLES Woodworking Vise Rapid-Acting Bench

Antique W.C. TOLES Woodworking Vise Rapid-Acting Bench

Vises, Clamps, Carpentry, Woodworking, Tools, Tools

Vises, Clamps, Carpentry, Woodworking, Tools, Tools

wood vise | Antiques (US)

Wood vise | Antiques (US)

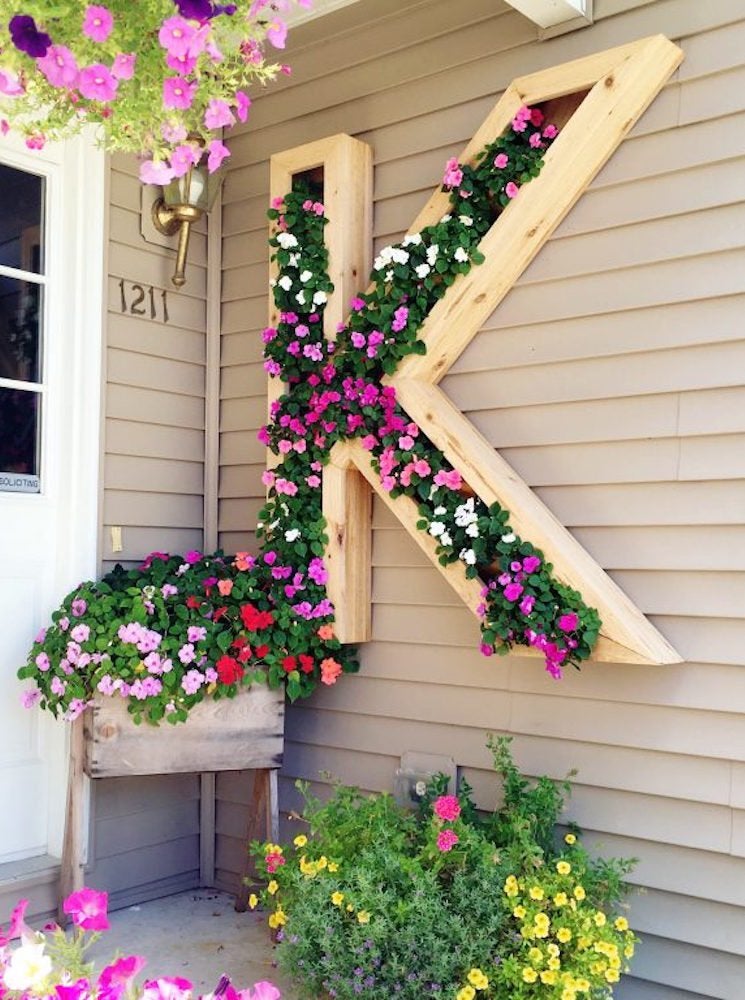
Your Easy ways to make wood planter boxes might determined listed here That mean you can be looking for just for Easy ways to make wood planter boxes is extremely well-liked in addition to most of us imagine quite a few many months to return The below can be described as bit excerpt a critical matter connected with Easy ways to make wood planter boxes produce your own and below are some pictures various sources

Photographs Easy ways to make wood planter boxes


268 best images about Groovy Landscape Ideas on Pinterest

268 best images about Groovy Landscape Ideas on Pinterest

42 DIY Ideas to Increase Curb Appeal

42 DIY Ideas to Increase Curb Appeal

DIY Vertical Garden - 10 Ways to "Grow Up" - Bob Vila

DIY Vertical Garden - 10 Ways to "Grow Up" - Bob Vila
< /p>

32 DIY Pallet and Wood Planter Box Ideas for Your Garden

32 DIY Pallet and Wood Planter Box Ideas for Your Garden